Home
Gallery
Shop
Policies
About
Contact
More
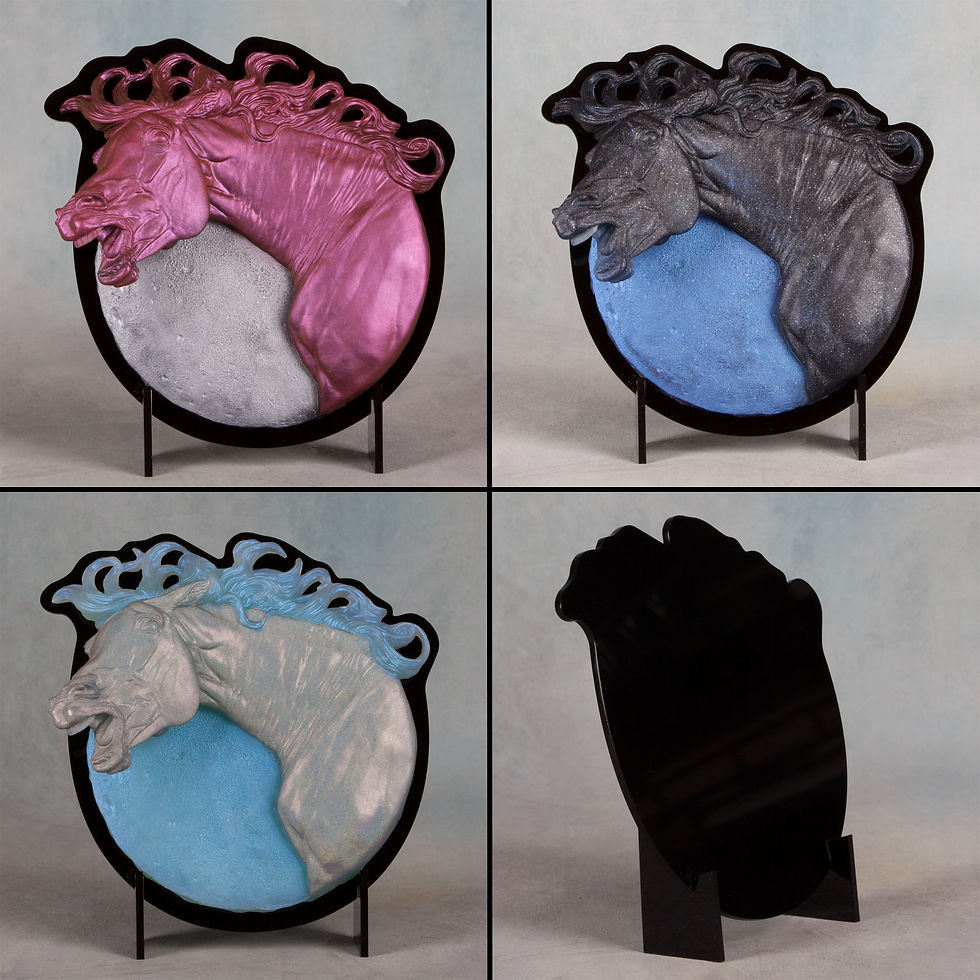
Wrath Medallion Stand
Wraith Medallion Stand
Uldrik Medallion Stand
Suncatcher Samarupata Medallion Stand
Samarupata Medallion Stand
Nerissa Medallion Stand
Regio Medallion Stand
Shaman Medallion Stand
Spring Shower Medallion Stand
Toshi Medallion Stand
Ozzie Medallion Stand
Tiora Medallion Stand
Truman Medallion Stand
Tucker Medallion Stand
The Herald Medallion Stand
Cyclone Medallion Stand
v2 Adjustable 5 3/4 Inch Medallion Stand
v2 Adjustable 3 1/2 Inch Medallion Stand
v2 Adjustable 2 3/4 Inch Medallion Stand
v2 Adjustable 2 Inch Medallion Stand